
Every Flaw I Fix Becomes the Best Detail I Own
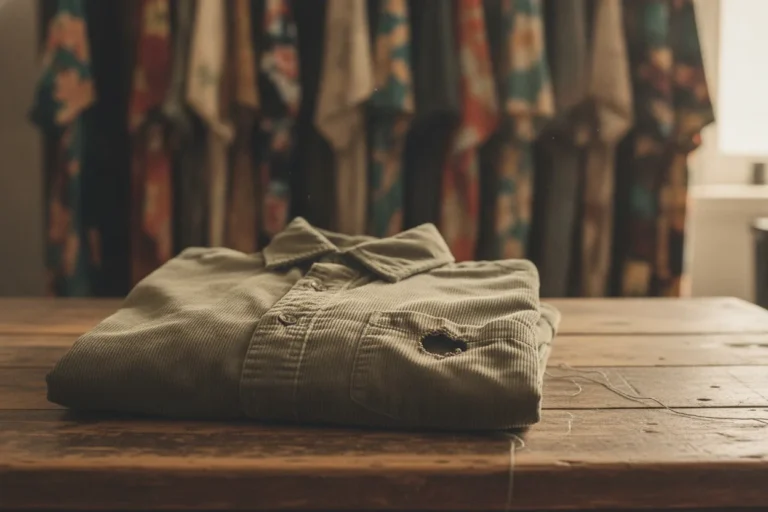
I was about to donate a $4 corduroy jacket I’d grabbed at a Salvation Army in Tucson because a two-inch rip along the back yoke made it look like I’d lost a fight with a shopping cart. Then I sat down with some burnt orange sashiko thread, a thick needle, and twenty minutes of a podcast, and that rip became the single best detail on any jacket I own. People stop me about it. Not because the stitching is perfect. Because it’s obviously, deliberately there — and that moment was my real introduction to visible mending thrifted clothes into something better than they started.
That rewired how I think about secondhand pieces, and it’s been the backbone of how I build my wardrobe ever since. I haven’t bought a new jacket in three years. I haven’t felt the pull to. The stuff I drag out of bins and racks and estate sales has more going on than anything hanging under fluorescent lights at the mall, especially once I’ve put a needle through it.
Why Visible Repair on Secondhand Clothes Hits Different Now
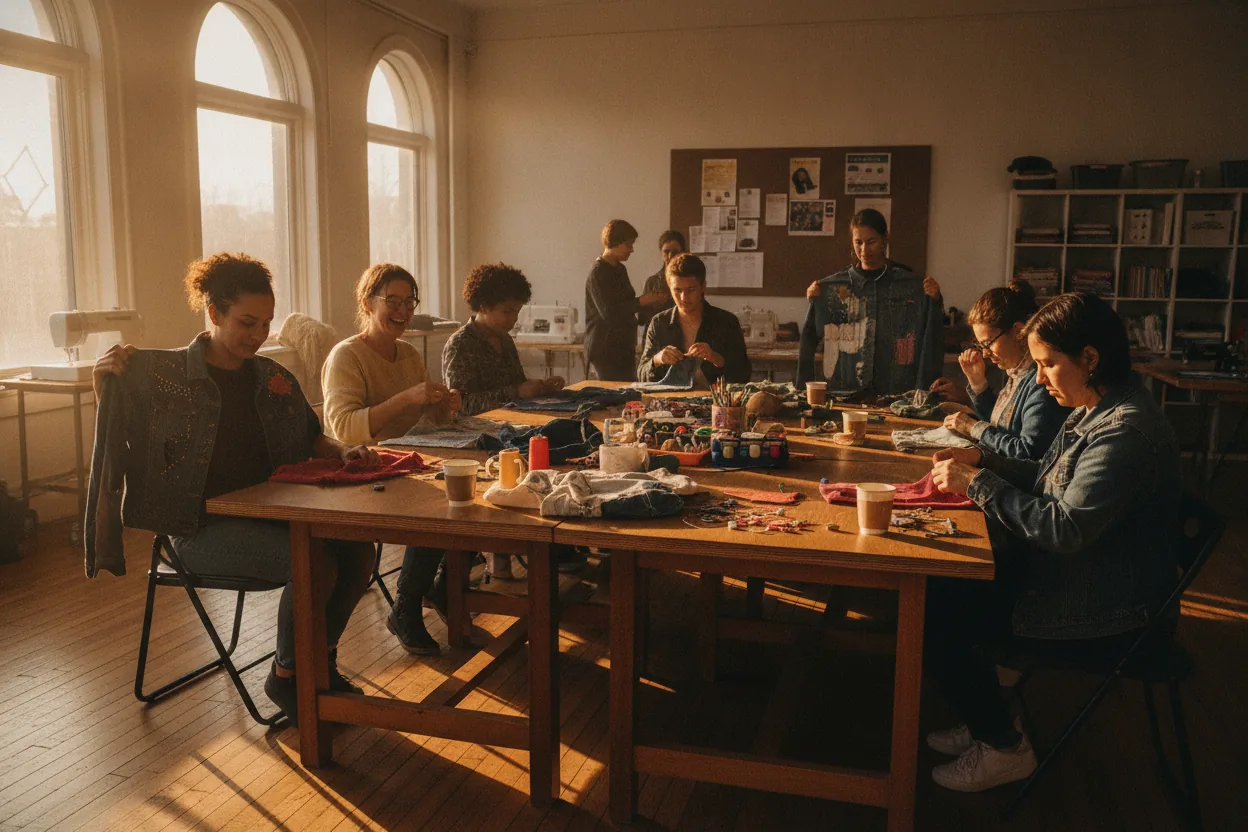
Visible mending used to live in a pretty small corner of the internet. Craft blogs, Japanese textile nerds, your grandma’s quilting circle. It was respected but niche. That’s not where we are anymore. In 2026, repair-as-style is showing up on #thrifttok hauls, in community stitching circles popping up at libraries and maker spaces, and across Depop listings where a hand-sewn patch on a pair of Levi’s adds fifteen bucks to the asking price instead of subtracting it.
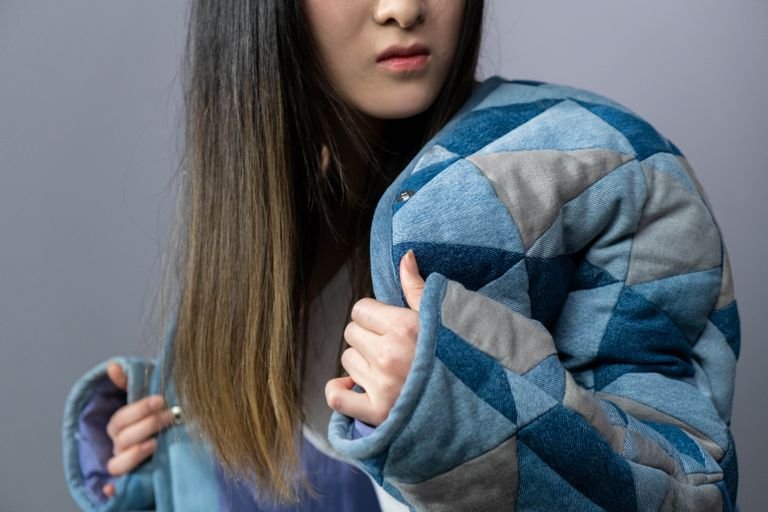
Which means the stuff I used to walk past is now the stuff I’m digging for. That denim jacket with the blown-out elbow? Used to be a skip. Now it’s a canvas. That wool sweater with a moth hole right on the chest? That’s a blank spot for a contrasting darn that turns a problem into a focal point. The flaw isn’t something you’re working around. It’s something you’re working with.
But the conversation isn’t settled. Not even close. There’s a real split between people who see visible repair as intentional design, people who see it as a mark of authentic use and care, and people who side-eye it as damage control dressed up as a vibe. All three readings can apply to the same garment at the same time. And honestly, that tension is part of what makes it interesting.
Design, Authenticity, or Damage Control? The Three-Way Argument
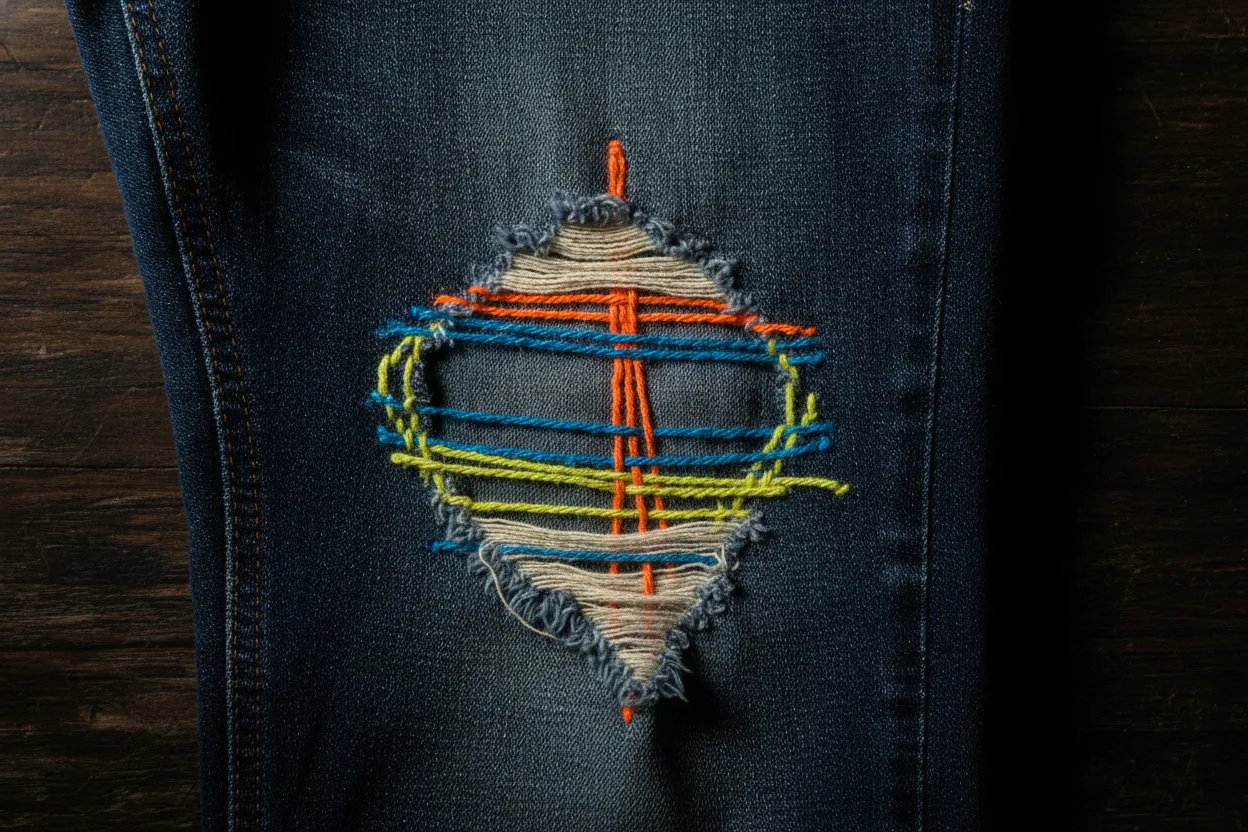
You’ve probably looked at a repair and thought — that’s cool. You’ve also probably looked at one and thought — that’s hiding something. Maybe you’ve had both reactions to the same piece in the same afternoon. I have. Here’s how those reactions break down.
The design read is the most straightforward. You wouldn’t question why a designer put a contrast pocket on a shirt. A contrasting darn or a bold patch operates on the same level. The repair becomes the aesthetic. You’re choosing the thread color, the stitch pattern, the placement. You’re making a call about how it reads. That’s design.
The authenticity read is different. It’s not about the fix as a design choice so much as evidence. Evidence that the garment has been worn, loved, and kept alive. In vintage and secondhand circles, a well-executed visible repair can signal that someone cared enough to save this thing rather than toss it. It’s proof of continuity. The garment has a past, and the stitching is a scar that tells the story. This is the angle that resonates hardest with the identity-driven thrifter, the person who wants their clothes to mean something beyond looking good.
Then there’s the skeptic’s read: damage control. And honestly, this one’s fair too. Not every repair is a love letter to a garment. Sometimes you’re just trying to save a piece that ripped in a bad spot, and the fix is functional more than it is beautiful. The question is whether the person who did the work was celebrating the flaw or hiding it behind busy stitching. When a patch covers a stain more than it adds to the look, it can feel like a cover-up. I’ve sold a few mended pieces on Depop and the DMs go one of two ways — people who love the detail, and people who want to know what’s underneath it.
Here’s where I land: the intent behind the repair changes everything. And you can usually feel the difference. A lazy patch slapped over a cigarette burn reads differently than a careful running stitch in a contrasting color that follows the grain of the fabric. Both are visible. Only one is style.
How I Started Fixing Thrift-Store Finds Instead of Skipping Them
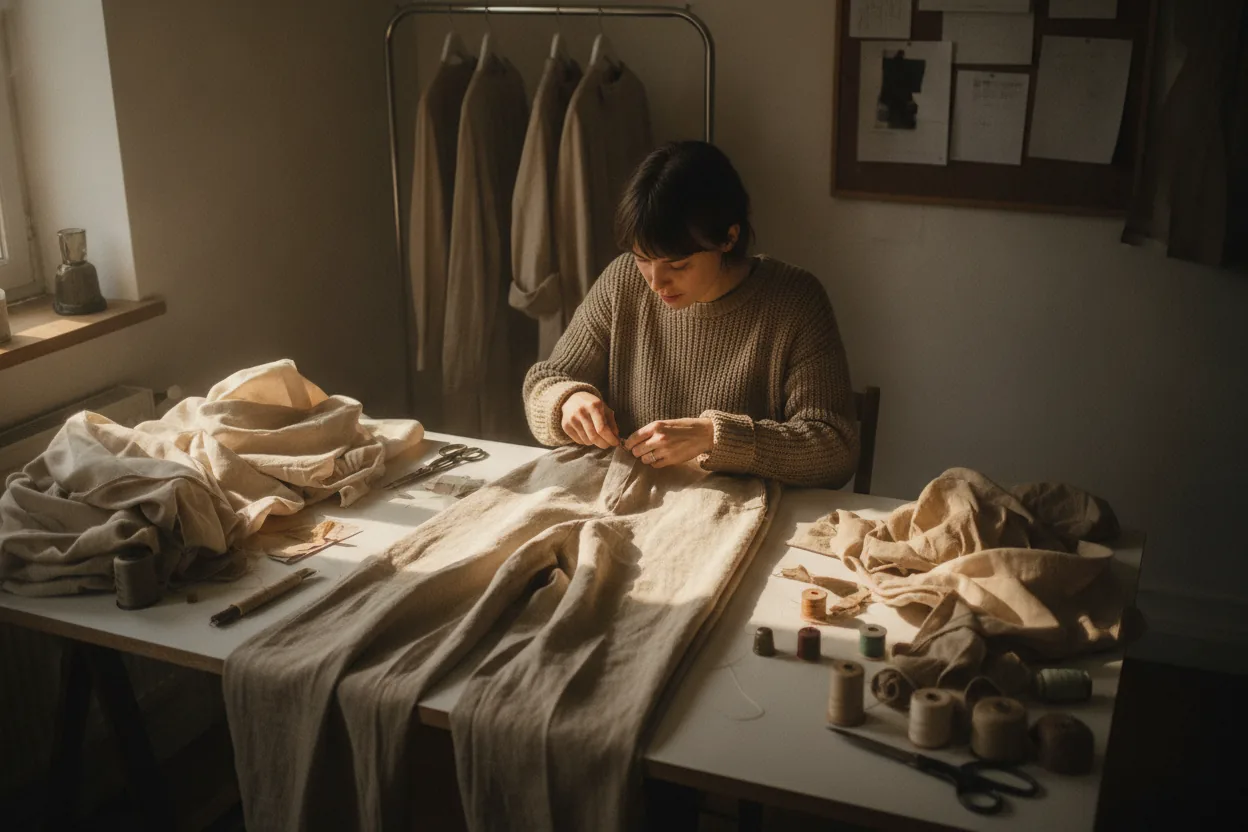
My visible mending habit started because I’m cheap and stubborn. I’d find pieces at Goodwill or garage sales that were 90% perfect, with one tear, one hole, one busted seam that kept them from being wearable. For a while I’d pass on those. Then I started collecting them specifically because they were damaged and therefore priced at a dollar or less.
The first real project was a pair of wide-leg linen pants from a Goodwill in Portland, tagged at $2.99 because of a blown-out inner thigh seam and some fraying along the hem. I used a basic running stitch in white cotton thread against the dark olive linen, following the seam line but not hiding in it. Took maybe thirty minutes. The white stitching against the dark fabric looked deliberate, almost like topstitching you’d see on a workwear jacket. I wore those pants all summer. Still have them.
After that I started seeking out specific kinds of damage. Small holes in knits are perfect for Swiss darns or duplicate stitch in a contrasting yarn. Tears along woven seams respond well to sashiko-style running stitches. Worn-through elbows on sweaters and jackets are basically begging for a boro patch, a piece of scrap fabric layered underneath and stitched through with visible rows. Each type of damage invites a different technique, and learning which one matches which problem is half the fun.
The best part is how low the stakes are. You’re working on a garment that cost you three bucks. If you mess up the repair, you’re out three bucks and some thread. Compare that to trying to alter or customize something you paid full retail for. The fear of ruining it disappears when the starting price was pocket change. Secondhand pieces are the best possible testing ground for learning repair skills because failure costs almost nothing.
Which Repairs Read as Intentional on Secondhand Pieces
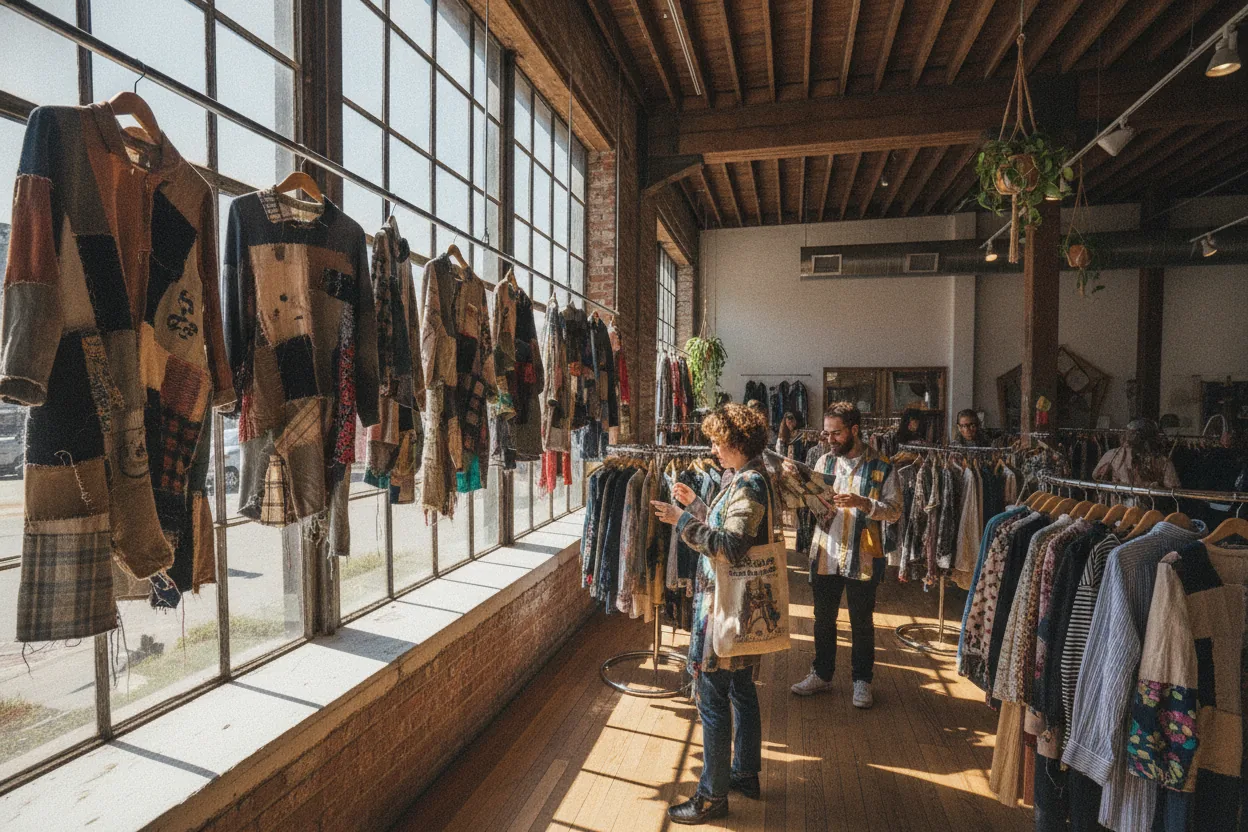
Not all visible fixes land the same way, and if you’re posting hauls or listing repaired pieces for resale, it’s worth thinking about what reads as intentional versus what reads as a patch job.
Contrast is the biggest signal of intent. When your thread or patch fabric is a clearly different color or texture from the base garment, it reads as a choice. Nobody accidentally repairs a black wool sweater with bright red yarn. That’s a statement. Tonal repairs, matching thread to fabric, can look intentional too, but they have to be really clean to avoid reading as a failed invisible fix.
I learned how much pattern matters when I patched a pair of herringbone wool trousers last winter with a running cross-stitch in gold thread. The geometric stitching against the diagonal weave of the herringbone created this layered texture that people assumed was original to the garment. Sashiko works the same way — those geometric running stitch patterns are obviously decorative. A grid of even stitches across a patched knee doesn’t look like someone fumbling with a needle. It looks like someone sat down and made something. Same with seed stitch darns on knits, where the woven grid of new yarn over a hole creates a texture that’s visually distinct from the surrounding fabric.
Placement matters more than people think. A repair on the chest, shoulder, or knee reads as confident because those are high-visibility spots. You’re not hiding anything. A stitch tucked under an arm or along a back seam can feel like you’re trying to sneak it past people, even if the technique is beautiful. If you’re going to fix something visibly, put it where people can see it. Own it.
Scale is the last piece. A single small darn on an otherwise clean garment reads as a deliberate accent. Twenty patches all over a jacket can tip into costume territory unless you’re going for a full boro patchwork look, which is its own aesthetic and takes commitment to pull off. If you’re just picking up a needle for the first time, one or two visible repairs on a piece is the sweet spot. Enough to be interesting. Not so much that it overwhelms the original garment.
The Secondhand Wardrobe Doesn’t Need to Be Pristine
There’s a weird hangover from retail culture that says clothes should look untouched. Tags on, no wrinkles, no signs of life. That framing doesn’t make sense when you’re building a wardrobe from secondhand sources. Everything you’re buying has already been worn. It’s already lived. Pretending otherwise is just playing dress-up with someone else’s past.
Visible mending leans into that reality instead of fighting it. I’ve got a pair of thrifted olive chinos with a blown-out knee that I darned in mustard thread, and they get more compliments than any clean pair of pants I own. Last month someone at a coffee shop asked me where I “got them like that,” as if the darn came standard. And there’s a navy wool cardigan I picked up at an estate sale for a dollar because of two moth holes on the front — I filled them with a rust-colored seed stitch that echoes the elbow patches the original owner had already added. The whole garment looks like it was designed to accumulate these details over time.
This is where the secondhand value proposition gets interesting. The argument for buying used has always included the price and the environmental angle, and both of those are real. But visible repair adds a third layer: the piece becomes genuinely one-of-one. Nobody else has this specific garment with this specific fix in this specific thread color. You can’t replicate it. You can’t mass-produce it. It exists because you sat down with a needle and made a decision about how to handle a flaw.
That’s the thing that fast fashion literally cannot offer you. A machine can distress jeans. A machine can’t make a decision about how to respond to a specific tear in a specific piece of fabric with a specific stitch in a specific color. That’s human. That’s yours.
How Much Repair Is Too Much? Finding the Line
This is the question I get most often from people who are starting to fold repair into their thrift practice, and I don’t think there’s a universal answer. But there are some guidelines I’ve landed on after three years of doing this.
If the structural integrity of the garment is gone, stitching might not save it. A shirt where the fabric is so thin it tears when you pull on it isn’t a repair candidate. It’s a rag or a source of patch material for other projects. Visible mending works best when the base fabric is still strong and the damage is localized. A hole in sturdy denim, a rip in a solid wool coat, a moth hole in a thick knit. Those are all fixable because the surrounding material can hold the repair.
If the damage is in a spot that takes constant stress, like the crotch of jeans or the underarm of a jacket, your visible fix needs to be structural too. Pretty stitches that don’t actually reinforce the weak spot will blow out again. For high-stress areas, I layer a piece of scrap fabric behind the tear and stitch through both layers in a tight grid. It’s still visible and it’s still a style choice, but it’s also doing real work. The best visible repairs are the ones where beauty and function aren’t separate.
If you’re repairing for resale, be transparent. List the repair in the description. Show close-up photos. Let the buyer decide if they want a piece with visible stitch work. Some buyers specifically search for mended pieces because they want that one-of-one quality. Others want clean vintage. Both are valid. Just don’t hide it.
Getting Started: Tools, Techniques, and the $10 Kit
You don’t need much. Here’s what I keep in a tin on my desk, total cost about $10, all bought secondhand or from a dollar store.
A pack of embroidery needles with big eyes. You want the bigger eye because you’ll be using thicker thread and yarn, not fine sewing thread. A few skeins of embroidery floss in colors you like. I keep white, red, mustard, and black on hand because those cover most situations against most fabrics. A pair of sharp scissors. A few scraps of denim and canvas for patches, usually cut from garments that were too far gone to wear. That’s it.
I started with a running stitch because it’s the only one I could do without looking at a reference. It’s the foundation of sashiko and the simplest stitch there is. In, out, in, out, evenly spaced. Run parallel rows across a tear or over a patch, and you’ve got a clean geometric repair that looks intentional from day one. You can learn it in five minutes from a YouTube video. I’d recommend searching for “sashiko mending basics” and watching someone do it on denim, because denim is the most forgiving fabric to practice on.
Once you’re comfortable with the running stitch, try a Swiss darn on a knit. This is where you weave new yarn over a hole in a knit fabric, following the existing stitch pattern. It’s more advanced but incredibly satisfying when it clicks. A contrasting color Swiss darn on a thrifted wool sweater is one of the most beautiful fixes you can do.
The key with all of this is to just start. Grab the next damaged thrift find you come across, the one you’d normally put back on the rack, and take it home. Sit with it. Look at where the damage is. Think about what color would look good against the fabric. Then put a needle through it and see what happens.
Making Repair Part of Your Thrifting Habit
The best way to build a stitching practice is to stop seeing damage as a dealbreaker when you’re shopping secondhand. Train your eye to look at a flaw and immediately picture what it would look like with a contrasting stitch across it. That mental shift is everything. It turns the reject pile into a goldmine.
I set aside one evening a week for repairs. Usually Sunday. I put on music, pull out whatever damaged pieces have accumulated, and work through them. Some take ten minutes. Some take an hour. It’s meditative in a way that scrolling Depop listings isn’t, and at the end I’ve got a wearable piece that didn’t exist before.
Keep a scrap bag. Every time a garment dies beyond repair, cut it up and save the good fabric. Denim scraps, flannel scraps, canvas, linen. These become your patch materials. After a few months you’ll have a collection of textures and colors that you can pull from whenever a new project comes up. It’s a supply chain of one, and it costs nothing.
Document your repairs. Post them. The visible mending community online is genuinely one of the most supportive corners of fashion internet. People want to see your $2 garage sale flannel with the sashiko-stitched tear. They want to see the moth hole you darned in pink yarn on a gray sweater. They want to know what thread you used and how long it took. This isn’t performative. It’s people sharing a skill that keeps clothes alive.
Because that’s what this comes down to. Every garment you fix is a garment that doesn’t end up in a landfill. Every repair you make visible is a small argument that clothes don’t have to be perfect to be worth wearing. You don’t have to say any of that out loud. The stitches say it for you.
That corduroy jacket from Tucson is still in my rotation. The burnt orange thread along the back yoke has softened a little from washing. The edges of the original tear have relaxed. It looks better now than it did the day I fixed it, which is the opposite of what happens with new clothes. They peak on the hanger. This jacket is still getting better. And it cost me four dollars and some thread.