My Best Piece: A shirt with holes
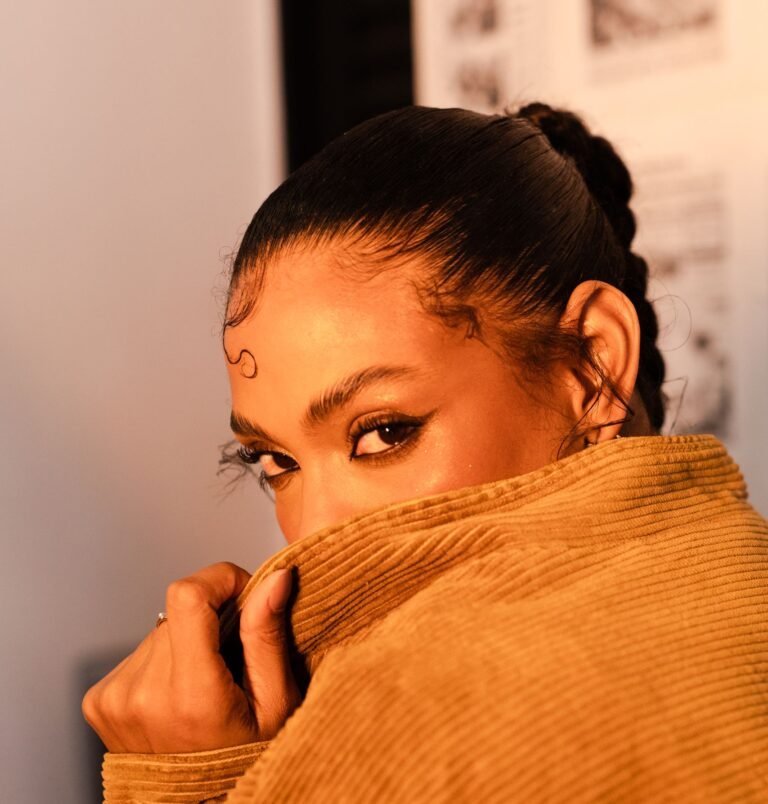
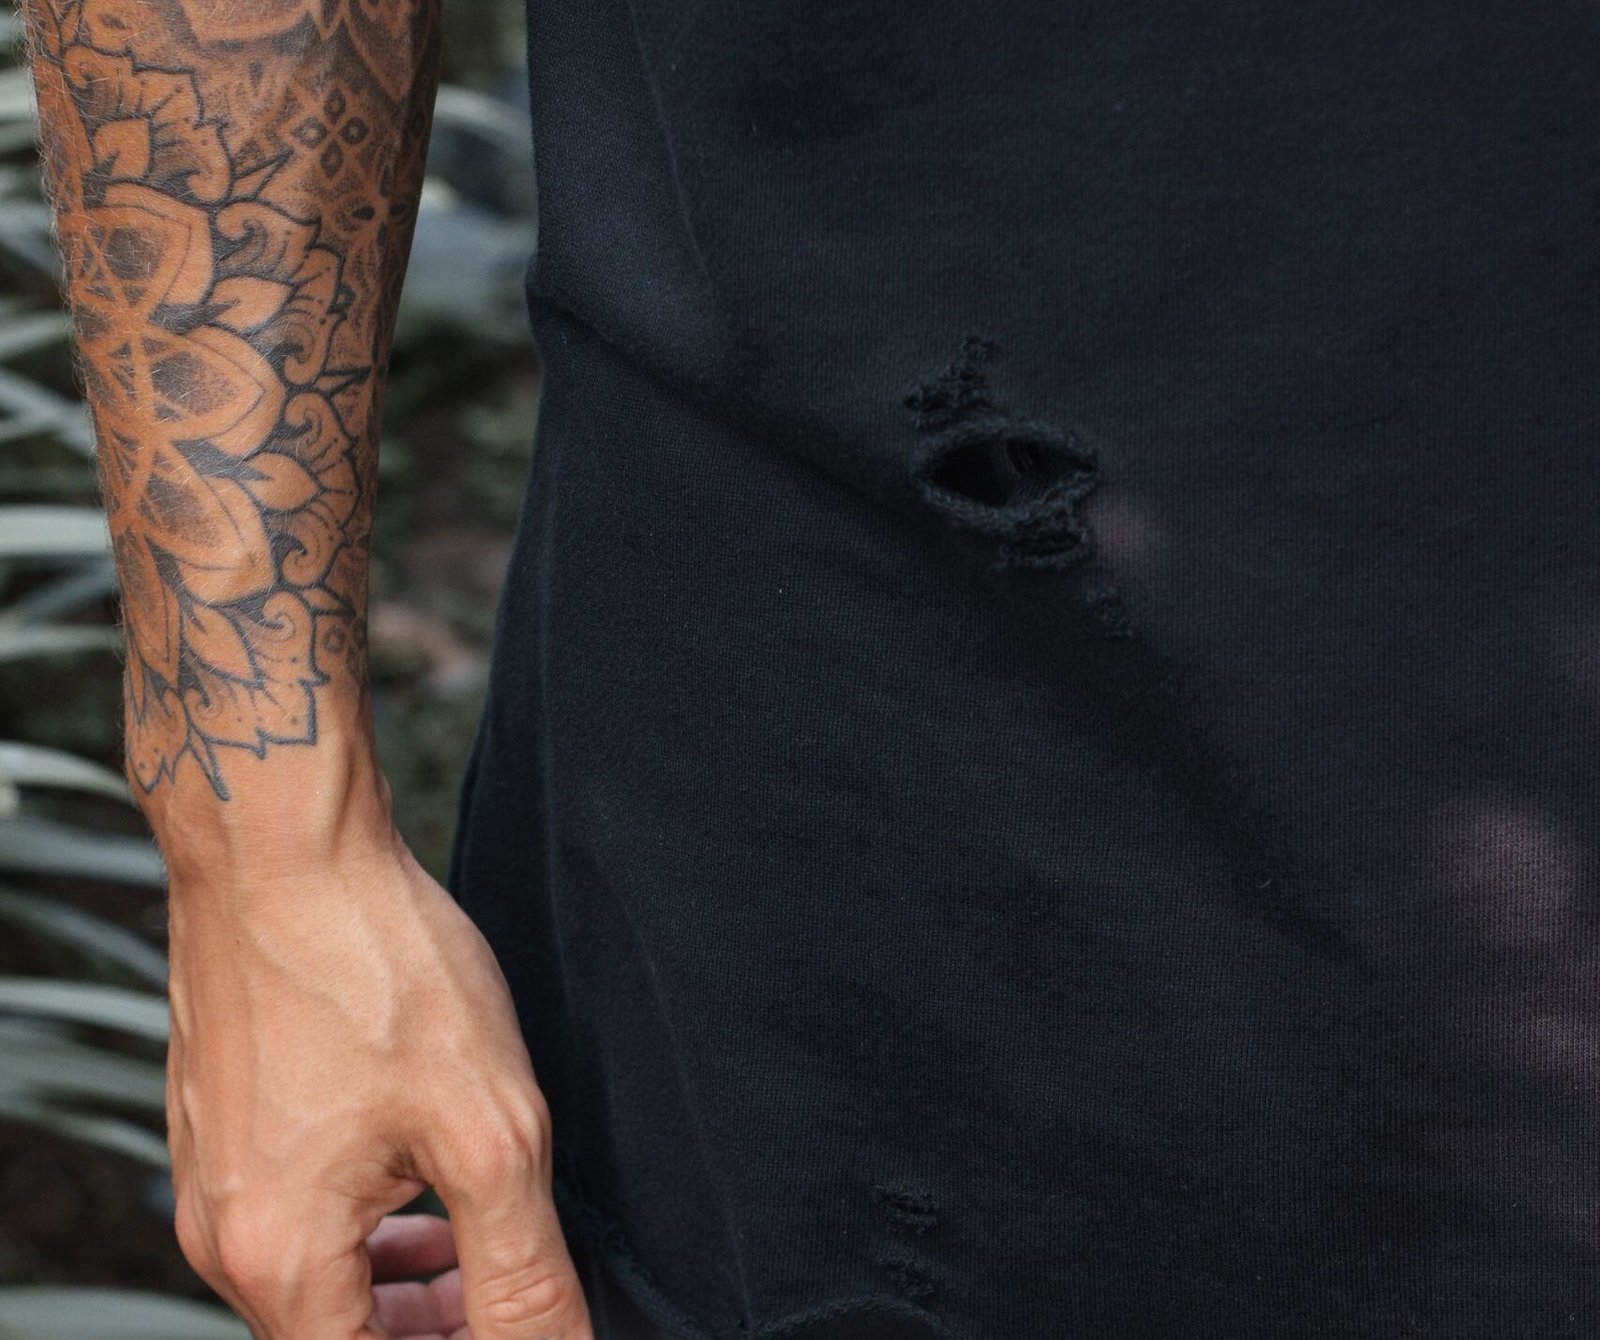
I was ready to donate a corduroy shirt I’d grabbed for $2.50 at a Salvation Army in Richmond. The collar was fraying, one elbow had worn through completely, and there was a pale yellow stain near the second button that no amount of OxiClean was going to touch. It sat in my “maybe” pile for three weeks. Then I picked up a spool of burnt orange embroidery thread, stitched a ring of lazy daisies around that stain, patched the elbow with a scrap of plaid flannel I’d been saving, and ran a thick running stitch along the collar in a contrasting cream. That shirt went from reject to the piece people ask about most. That’s visible mending style in action — the repair didn’t just save the shirt. It made the shirt.
This is where thrift flip ideas are heading right now. Not toward perfection. Not toward making a thrifted piece look like it came off a rack. Toward making the evidence of wear, repair, and transformation into the actual style. That burnt orange thread ringing a mustard stain on walnut brown corduroy isn’t a compromise — it’s the reason people stop me and ask what I’m wearing. The stitch line you can see from across the room is the flex.
Why Visible Mending Is the Loudest Thrift Flip Move Right Now
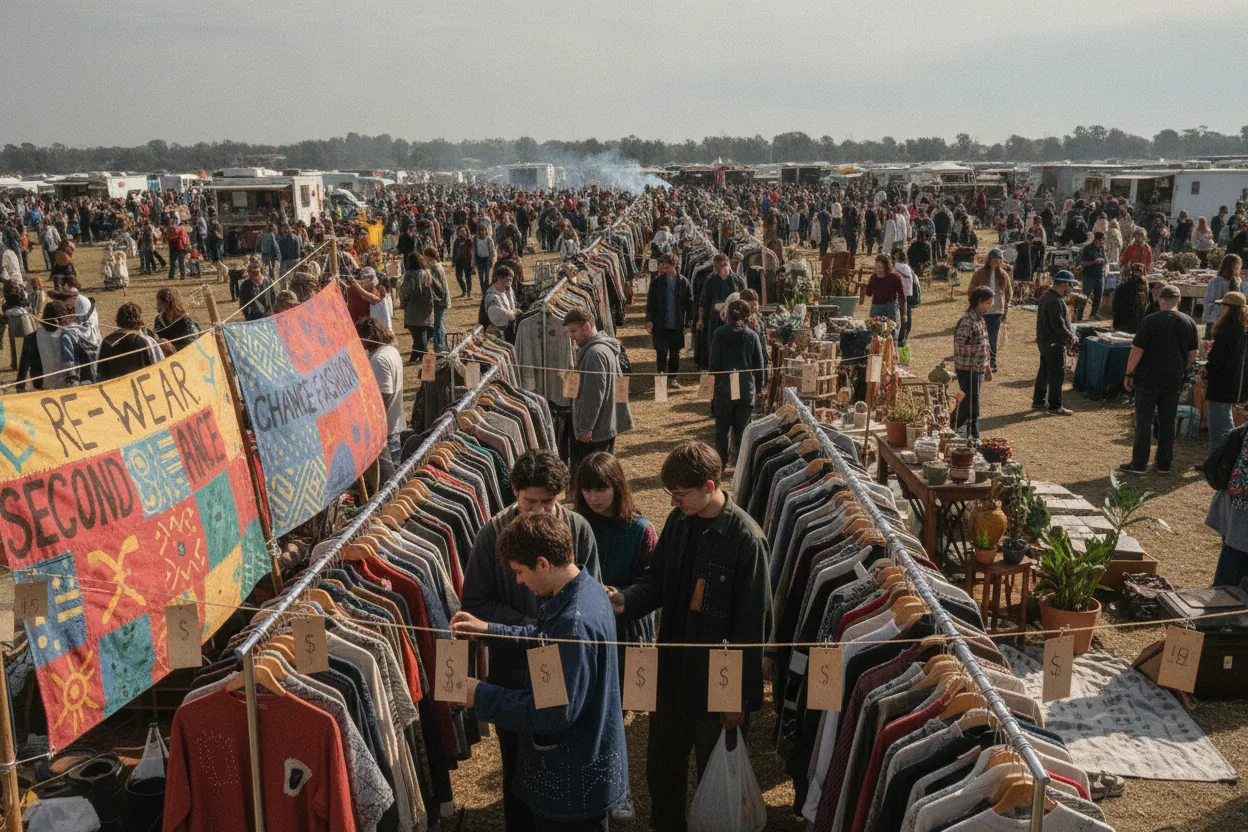
Something shifted. It used to be that if you found a killer piece at Goodwill with a tear in it, you’d either sew it shut as invisibly as possible or pass on it. The goal was always to make the secondhand thing look untouched, like you’d never admit where it came from. That whole approach is dead. The thrifters I follow on Depop and TikTok are doing the opposite — highlighting every flaw, every worn edge, every trace of a previous life. And they’re getting more engagement, more sales, and more personal satisfaction from doing it.
This isn’t random. There’s a reason repair aesthetics are gaining traction right now. People are tired of sameness. When every fast-fashion brand can crank out the same silhouette in the same three colorways every six weeks, the thing that stands out is the thing that clearly has a history. A pair of Levi’s with sashiko stitching over both knees tells a story that no algorithm-generated trend cycle can replicate. A wool sweater with a visible darn in forest green thread over a moth hole on the chest says someone cared enough to keep it alive. That’s not a flaw. That’s proof.
And it tracks with how Gen Z and younger millennials think about fashion as identity. You’re not just wearing an outfit. You’re communicating who you are, what you value, and how you move through the world. A visibly mended garment says: I found this, I fixed this, I made it mine, and I didn’t need a brand to tell me it was worth wearing. It can’t be mass-produced, which is exactly what makes it the opposite of everything fast fashion does. Every repair is specific. Every stitch is a fingerprint. Good luck replicating that in a factory.
The $2.50 Corduroy Shirt That Changed How I Think About Damage
Let me go back to that shirt. Because the backstory matters.
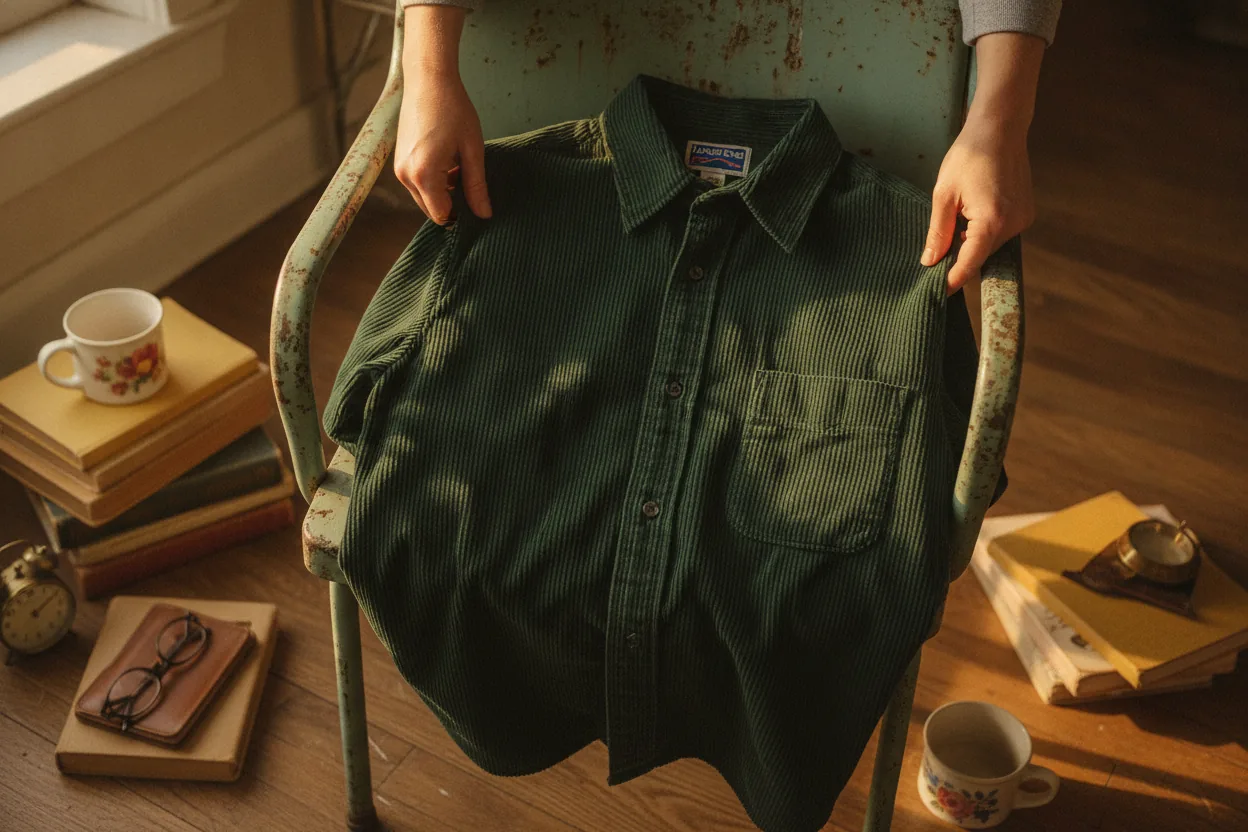
When I pulled it off the rack, I almost didn’t grab it. It was a heavyweight corduroy in this deep walnut brown, the kind of fabric you don’t find anymore because nobody makes shirts that heavy. The tag said “Lands’ End” and based on the label style, I’d guess late 90s, maybe 2001. The fit was boxy in a way that felt right for layering. But the damage. The elbow hole was the size of a silver dollar. The collar fray was visible from a foot away. And the stain looked like maybe someone had spilled mustard on it ten years ago and just lived with it.
I bought it anyway because the fabric was too good. That’s something thrifters learn over time — you buy for the material first and deal with the rest later. Thick corduroy like that, in a color that warm, is worth the $2.50 gamble even if it ends up as scrap fabric for patching other things.
But then I started mending it, and something clicked. I didn’t want to hide the damage. I wanted to work with it. The elbow hole got a patch cut from a flannel shirt I’d already cannibalized for parts — a red and cream plaid that had no business being on a brown corduroy shirt, which is exactly why it worked. I attached it with a blanket stitch in cream thread, making sure every stitch was visible and even. Not messy. Intentional. There’s a difference, and honestly it’s not that hard to hit once you slow down and keep your stitch length consistent.
The stain got the embroidery treatment. I’m not an expert embroiderer. I know about four stitches. But a lazy daisy is forgiving, and when you ring a cluster of them around a stain in a thread color that contrasts hard, the stain becomes a center point for a little design instead of something your eye tries to skip past. The burnt orange thread against the walnut brown corduroy looked like something you’d see on a $200 reworked piece at a vintage pop-up, except it took me forty minutes and cost me the price of the shirt plus maybe $1.50 in thread.
The collar I hit with a running stitch, just a straight line of cream thread along the frayed edge to stabilize it and frame it. No attempt to fold the fray under. No attempt to trim it clean. The fray stays. The stitch just says: I know it’s there, and I’m keeping it.
That shirt gets more comments than anything else I own. People want to know where I got it, and when I say “Salvation Army, two fifty, with holes in it,” they get it. They see the work. They see the intention. That’s the whole game.
How Repair Aesthetics Turn Cheap Finds Into One-of-One Pieces
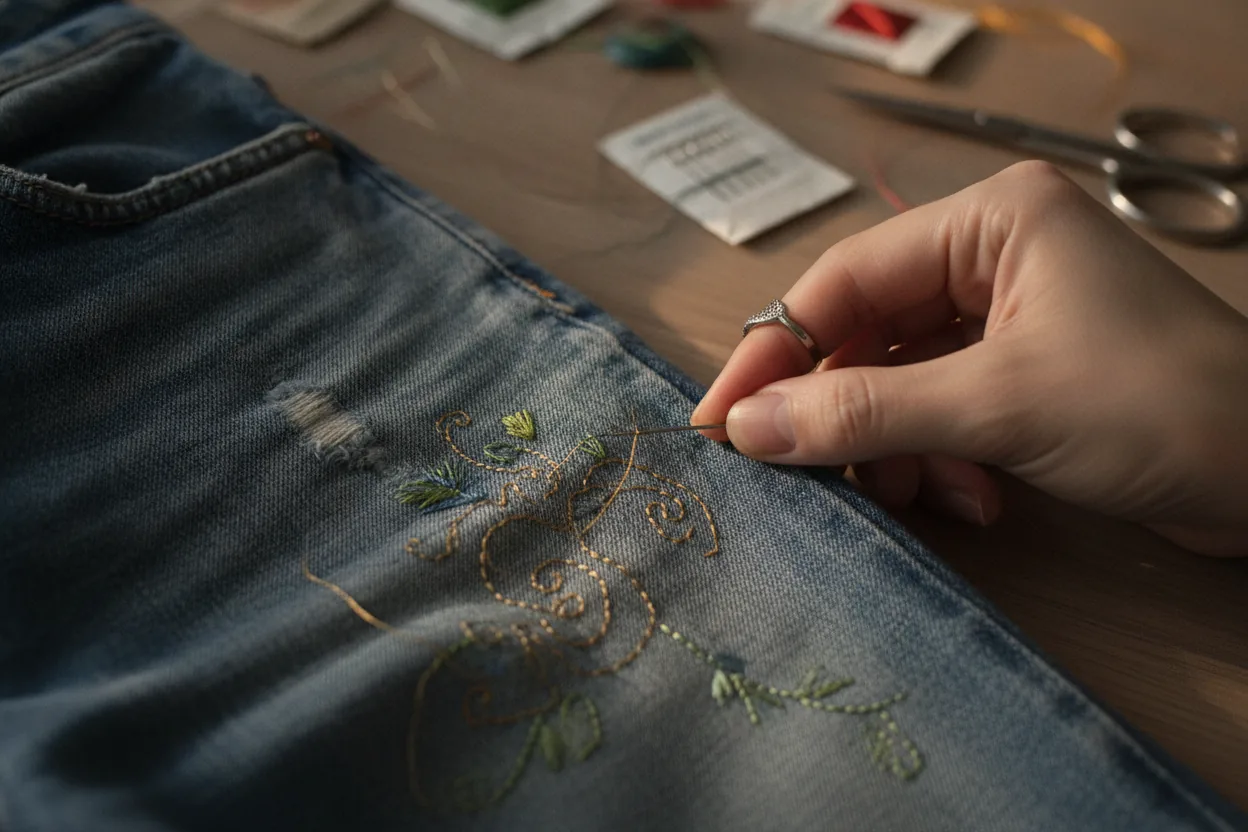
Here’s the practical angle that makes visible mending style such a powerful thrift flip technique. Damaged pieces are cheaper. Way cheaper. The stuff with rips, stains, missing buttons, and worn hems sits on the rack longer. It gets passed over. It goes to the bins. It gets priced down. If you’re willing to do twenty minutes of hand stitching, you’re working with source material that costs almost nothing.
A pair of jeans with blown-out knees at a thrift store might be $4. At Goodwill Outlet bins, where you’re paying by the pound, those same jeans might cost you sixty cents. Add a couple of patches in contrasting denim or canvas, stitch them down with sashiko-style running stitches in white thread on dark denim, and you’ve got a pair of jeans that looks like someone sat down and deliberately made them into something — the beauty-in-the-broken thing, where the damage isn’t hidden, it’s the whole aesthetic. No two pairs will ever look the same. That’s the whole point.
And this is where the value proposition gets wild. You’re not spending less to get something worse. You’re spending less to get something that literally cannot be duplicated. Every stain is in a different spot. Every rip has a different shape. Every patch you choose reflects your taste, your scrap stash, your color instincts. The result is a garment that is yours in a way that no off-the-rack purchase could ever be. One-of-one by nature.
I’ve watched sellers on Depop figure this out too. Listings that say “visibly mended” or “hand-repaired with sashiko stitching” are selling for significantly more than comparable undamaged pieces. A pair of vintage Wranglers with clean sashiko repair over both knees sold for $68 in a shop I follow. The same jeans without damage would’ve listed for maybe $35. The repair work added value. The repair work is the value.
Techniques That Actually Work on Thrifted Pieces

Let me get specific, because vague “just stitch it” advice helps nobody.
Sashiko is the technique that gets the most attention, and for good reason. It’s a Japanese mending tradition built around running stitches in geometric patterns, traditionally white thread on indigo fabric. I learned it on a pair of black Dickies I found at a yard sale for $3 — both knees were shot, and I figured if I ruined them it was a $3 lesson. I didn’t ruin them. The white sashiko grid over those knees made them look like I’d paid someone to do it, except the slight unevenness in my stitches made it clear a human did it on a Tuesday night watching TV. That’s the appeal. You don’t need to be precise to make it look good. You need a sashiko needle (longer and straighter than a regular sewing needle, about $3 for a pack), sashiko thread (thicker than embroidery floss, about $4 a skein), and patience. The basic technique is: place a patch behind the damaged area, pin it, and run parallel lines of stitches through both layers. The stitches should be visible, even, and about a quarter inch long. You can do straight lines, cross-hatches, or traditional patterns like asanoha (hemp leaf). Even a simple grid of running stitches over a knee patch transforms the whole garment.
For stains that won’t come out, small embroidery clusters work incredibly well. I tried this for the first time on a $4 flannel from a church rummage sale — someone had gotten what looked like bleach spots across the chest, these little pale dots on dark green plaid. I filled each one with a French knot in gold thread. A French knot is just wrapping thread around a needle twice and pushing it back through. Took maybe fifteen minutes. Now it looks like the flannel was designed with gold accents, and it’s one of those low-key pieces that gets noticed without screaming. Lazy daisies, as I mentioned, are equally forgiving. Pick a thread color that contrasts sharply with the fabric, because the goal is visibility. You want people to see the work, not wonder if it’s a print.
For frayed hems and edges, the move is to stabilize without hiding. A blanket stitch along a raw edge keeps it from fraying further while making the edge look finished in a handmade way. I’ve done this on the cuffs of a denim jacket I found at a garage sale in Carytown for $5. The cuffs were chewed up, probably from years of being rolled and unrolled. I hit them with a blanket stitch in mustard yellow thread and now they look like a design choice. I also completely botched my first attempt — used thread that was too thin, and the stitches disappeared into the denim like they were embarrassed to be there. Thicker thread. Always thicker thread on heavy fabric. Learned that one the hard way.
Patches deserve their own conversation. The key thing is contrast. A denim patch on denim looks like a repair. A plaid flannel patch on denim, or a piece of waxed canvas on corduroy, or a floral cotton on a solid wool — that looks like a decision. Cut your patches with a little extra margin, about half an inch beyond the damaged area, and stitch them down with visible stitches, not hidden ones. If you’re using a sewing machine, a wide zigzag in contrasting thread works. But hand stitching looks better for this. It looks human. It looks like someone sat down and actually gave a damn.
One technique I don’t see enough people talking about: reinforcing from behind before adding the visible work on top. If the fabric around a hole is thin or stretchy, you need a layer of interfacing or a scrap of stable fabric ironed or basted to the inside before you start your stitching or patching. Otherwise, your beautiful repair work is going to pull through weakened fabric within a month. Spend the extra five minutes. It matters.
The Backstory Stitched Into Every Repair
The corduroy shirt had a name written in permanent marker inside the collar. “DENNIS.” All caps, block letters, the way you’d label something so it didn’t get lost in a workplace or a shared laundry. I think about Dennis sometimes. I think about him wearing this shirt for years, long enough to wear through the elbows, long enough for the collar to start going. Long enough for that mustard stain to happen and for him to shrug and keep wearing it anyway. Dennis, wherever you are, your shirt is thriving. It just looks a little different now.
Dennis’s shirt is better for having been Dennis’s shirt. The wear patterns, the soft spots, the places where the corduroy nap has rubbed away — those are all records of a life I’ll never know. And my stitches are now layered on top of his history. The shirt carries both of us now.
This is the part of intentional mending that gets me. Every repair is a conversation between you and whoever came before. You’re not erasing their use. You’re building on it. The sashiko stitches over a stranger’s worn knees, the embroidery around a stain from a dinner party you never attended, the patch that covers a tear from some moment you can only guess at — all of it is accumulation. The garment gets richer over time, not poorer. It gains meaning instead of losing it.
Compare that to buying something new off a website. It arrives in a plastic bag. It has no story. It will have your story, maybe, if you keep it long enough. But it starts at zero. A thrifted and mended piece starts in the middle of a story and invites you to keep writing it.
Finding the Right Pieces to Mend and Flip
Not every damaged thrift find is worth mending. Here’s what I look for.
Fabric quality comes first. If the material is thin polyester blend, it’s not going to hold stitches well and it’s not going to be worth the time. You want natural fibers or heavy blends. Denim, corduroy, wool, canvas, heavyweight cotton. These fabrics accept patches, hold thread, and have enough body to show off visible stitching. The weight of the fabric is part of why the repair looks good. Repair stitching on a tissue-thin rayon blouse looks weird. Repair stitching on 14-ounce selvedge denim looks incredible.
Location of damage matters too. A tear on a knee, an elbow, a hem, a pocket — these are all high-visibility zones where the mending becomes a focal point. A rip under the armpit or along an interior seam is harder to make into a style moment. It’s still worth fixing, but it’s a structural repair, not a visual one.
Color and contrast potential is the third thing. I’m looking at the fabric color and immediately thinking about what thread or patch color would pop against it. Dark denim with white sashiko thread is the classic move for a reason. But light-wash denim with deep indigo patches is equally striking. A navy wool coat with bright red darning. A khaki canvas jacket with olive green blanket stitching. Think about the contrast before you buy the piece.
And price, obviously. If you’re mending as a thrift flip technique, the source piece should be cheap. Under $5 for most things. Under $2 at bins or garage sales. The mending adds the value. You don’t want to overpay for the raw material.
Where to Start if You’ve Never Picked Up a Needle
Grab a thrifted tee that you don’t care about. Seriously. Go to your local thrift store this weekend, find a cotton t-shirt in the dollar bin with a hole or a stain, and use it as practice. This is actually how most people in the mending community recommend starting: with a zero-stakes piece where mistakes don’t matter.
Get a pack of embroidery needles and a few skeins of embroidery floss in colors you like. Total cost: maybe $6 from a craft store, or $3 from the notions section at a thrift store if they have one. Look up a running stitch and a blanket stitch on YouTube. Those two stitches will get you through 80% of your projects.
Try a simple patch first. Cut a scrap of fabric bigger than the hole, pin it behind the damaged area, and stitch it down with a running stitch all the way around, plus a few rows across the middle to secure it. It doesn’t need to be perfect. It needs to look intentional. The difference between “this fell apart” and “I made this” is just evenness and consistency of stitches. Keep them roughly the same length. Keep the spacing roughly even. That’s it. That’s the whole secret.
Once you’ve done one, you’ll see it. You’ll understand why people are choosing the mended piece over the pristine one. Because the mended piece has a pulse. It has evidence of hands. In a world flooded with machine-made identical garments, the thing that shows handwork is the thing that stands apart.
The Hunt for Imperfect Things
Next time you’re at a thrift store, don’t skip past the damaged rack or the discount bin. That’s where the best raw material lives. Look for the heavy fabrics with the bad stains. The vintage denim with the blown knees. The wool sweater with the moth holes. The jacket with the missing buttons and the torn pocket.
These are the pieces that cost the least and offer the most potential. They’re waiting for someone to see the possibility in the damage. To see a stain not as a flaw but as a starting point. To see a rip not as an ending but as an invitation.
Dennis’s corduroy shirt was garbage to whoever donated it. It’s one of my favorite things I own. The difference was forty minutes, $1.50 in thread, a scrap of flannel, and the willingness to let the damage show instead of pretending it was never there.
Go find yours.